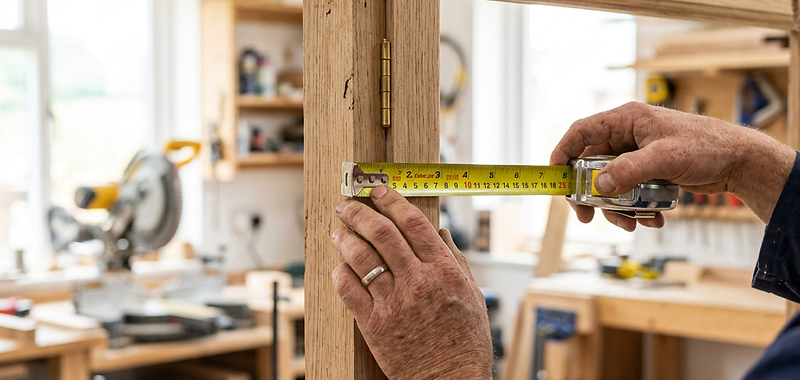
Getting the measurements right is the single most important step in ordering a custom window screen. A screen built 1/8" too wide won't fit the channel; one built too narrow will rattle and let insects in.
Measure the screen, not the glass. The screen size is the outer dimension of the screen frame that slides into your window's screen channel — not the visible glass. If your old screen still fits, the easiest method is to lay it flat and measure tip-to-tip across the frame, width then height, to the nearest 1/16".
No old screen? Measure the inside of the screen channel (the groove the screen sits in) and subtract about 1/8" from the width for clearance. Record the height the same way.
Details to note:
- Width × height in inches to the nearest 1/16"
- Frame thickness (5/16", 7/16" and 3/8" are most common)
- Mesh type: standard fiberglass, pet-resistant, or metal mesh
- Corner style: plastic internal corners or spring clips
- Which side the lift handle / weather strip goes on
Tips for accuracy. Use a stiff metal tape, not a fabric one. Measure each window separately — even identical-looking windows vary. For large or multi-panel openings, book a professional measurement to avoid costly rework.
Once you have your numbers, enter them in the configurator, choose your mesh and frame, and we'll build your screen to the exact size. Bloom Bug ships DIY orders across BC and Alberta and offers professional measure-and-install across the Lower Mainland.